Oh, let me tell you about my love affair with crème brûlée! There’s something magical about that first crack of the caramelized sugar crust giving way to silky custard underneath. This classic French dessert stole my heart years ago at a tiny Parisian bistro, and I’ve been obsessed with perfecting it ever since. What makes crème brûlée so special is that perfect contrast – the satisfying “tap-tap” of your spoon breaking through the crisp sugar shell to reach the cool, velvety custard waiting below. It’s fancy enough for special occasions but secretly simple enough for a weeknight treat when that sweet tooth strikes. Just wait until you see how easy it is to make restaurant-quality crème brûlée right in your own kitchen!
Why You’ll Love This Crème Brûlée Recipe
Trust me, this recipe is going to become your new go-to dessert for so many reasons:
- That perfect crack when you tap the caramelized sugar – it’s pure magic every single time
- Just 5 simple ingredients transform into something ridiculously fancy
- The custard is so luxuriously creamy it’ll make you close your eyes and sigh
- Looks like you spent hours in the kitchen (but really takes just 15 minutes of hands-on work)
- Always impresses guests – I can’t tell you how many “Oh wow!” reactions I’ve gotten with this
Seriously, once you master this recipe, you’ll feel like a French pastry chef – minus all the fuss!
Crème Brûlée Ingredients
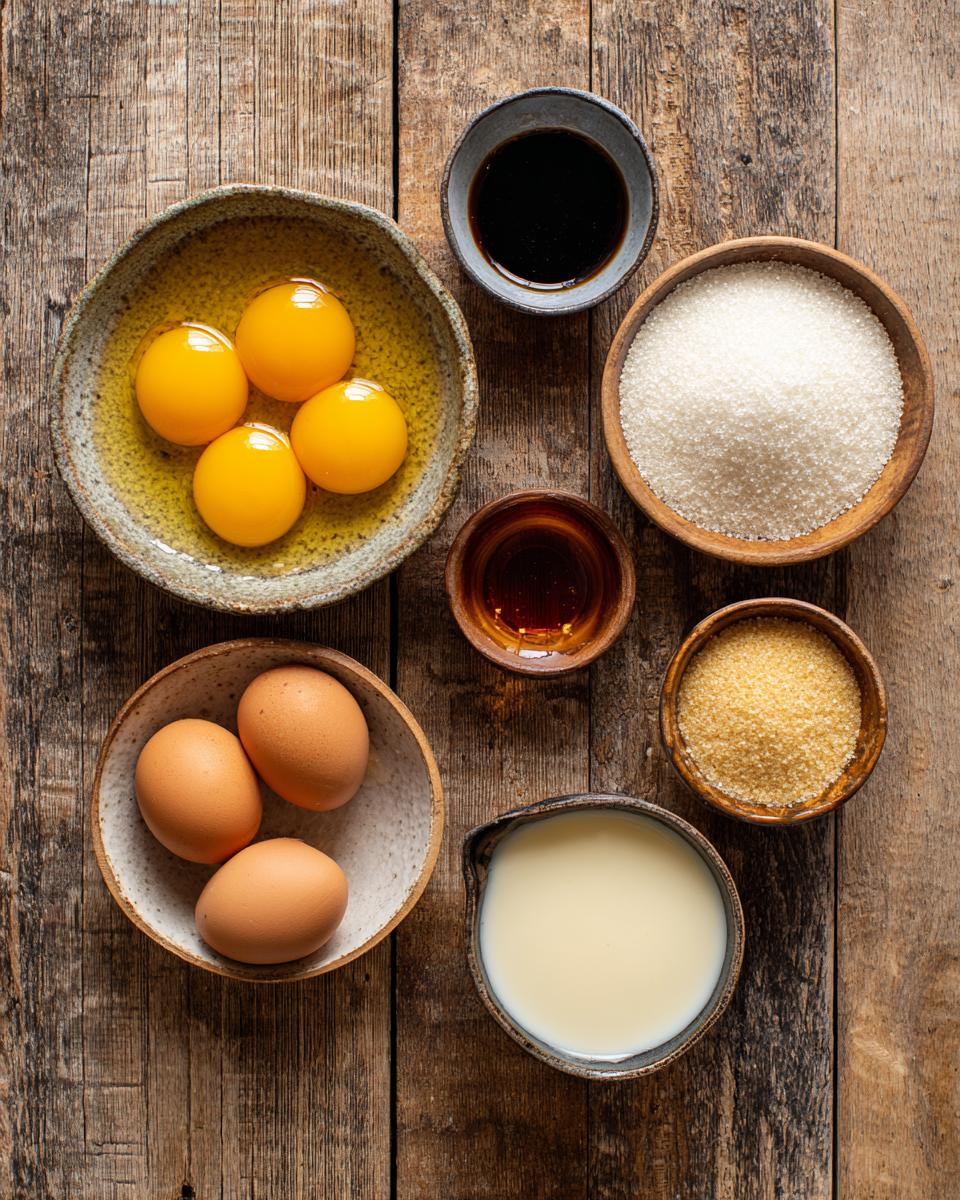
Here’s everything you’ll need to create this heavenly dessert – and yes, every single ingredient matters! I’ve learned through trial and error that quality makes all the difference with crème brûlée:
- 2 cups heavy cream – don’t skimp here, the richness is key
- 5 large egg yolks – room temperature blends smoother
- 1/2 cup granulated sugar – for that perfect sweetness
- 1 tsp alcohol-free vanilla extract – or scrape a vanilla bean for extra luxury
- 1/4 cup granulated sugar – reserved just for that glorious caramelized top
See? Simple ingredients you probably already have! Just wait until you smell that vanilla-infused cream warming up – pure bliss.
Essential Equipment for Making Crème Brûlée
Now, let’s talk tools – you don’t need anything fancy, but these basics are non-negotiable for perfect crème brûlée every time:
- 4-6 oz ramekins – my little ceramic cups that make everyone feel fancy
- Medium saucepan – for gently heating that luxurious cream
- Whisk – your best friend for silky smooth custard
- Fine mesh strainer – because no one wants lumpy dessert
- Kitchen torch – the most fun you’ll have with fire since childhood
- Baking dish – for the all-important water bath
That’s it! No special gadgets – just solid kitchen essentials that’ll give you that perfect crack every time.
How to Make Perfect Crème Brûlée
Okay, let’s get to the good stuff! Making crème brûlée is easier than you think – it’s all about patience and paying attention to those little details that make all the difference. I’ll walk you through each step like I’m right there in the kitchen with you.
Preparing the Custard Base
First, let’s make that dreamy custard. Start by whisking those room-temperature egg yolks with sugar until they’re pale and thick – about 2 minutes of good arm exercise! You’ll know it’s ready when the mixture falls off the whisk in ribbons. Now, heat your cream just until tiny bubbles form around the edges – don’t let it boil or you’ll scald it. Here’s my favorite trick: slowly drizzle the warm cream into the eggs while whisking constantly. This “tempering” keeps the eggs from scrambling. Add your vanilla, then strain the mixture through a fine sieve to catch any sneaky bits. Your nose will thank you – that vanilla scent is heavenly!
Baking and Chilling the Crème Brûlée
Pour your silky custard into ramekins and nestle them in a baking dish. Carefully pour hot water around them until it comes halfway up the sides – this water bath keeps the custard baking gently. Slide them into a 325°F oven for 40-45 minutes. They’re done when the edges are set but the center still jiggles slightly when nudged. Let them cool, then transfer to the fridge. This is the hardest part – you’ve got to wait at least 2 hours (overnight is better!) for that perfect creamy texture. I know, the waiting kills me too!
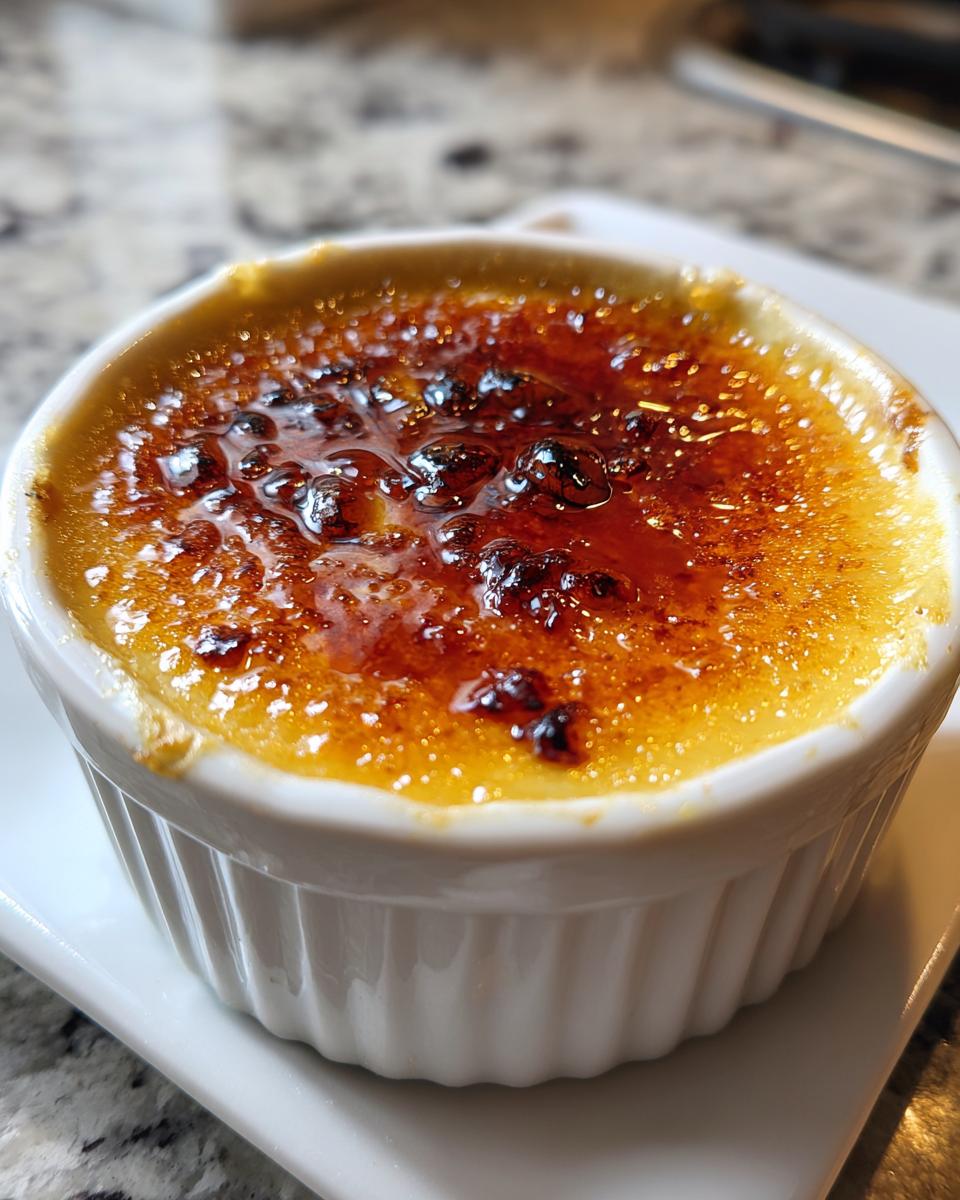
Caramelizing the Sugar Topping
The grand finale! Right before serving, sprinkle about 1½ teaspoons of sugar evenly over each chilled custard. Tilt and tap to spread it in a thin, even layer. Now comes the fun part – fire up your kitchen torch and hold it about 4 inches away. Move it constantly in small circles until the sugar melts and turns golden brown. Watch closely – it goes from perfect to burnt in seconds! If you don’t have a torch, broil for 2-3 minutes, but stay right there watching. Let the caramel harden for just a minute, then serve immediately. That first satisfying crack? Pure magic.
Expert Tips for the Best Crème Brûlée
After making countless batches (and yes, a few flops along the way), I’ve learned these game-changing tricks for perfect crème brûlée every time:
- Room temp eggs are non-negotiable – cold eggs make lumpy custard. I leave mine out for at least 30 minutes before starting.
- Low and slow wins the race – keep your cream at a gentle simmer, never a rolling boil, to prevent that awful scrambled egg texture.
- The jiggle test is everything – pull your custards when the edges are set but the center wobbles like Jell-O. They’ll firm up as they cool.
- Patience pays off – I know it’s tempting, but don’t skip the full chilling time! That 2-hour minimum makes all the difference in texture.
- Torch technique matters – hold the flame at least 4 inches away and keep it moving for even caramelization without bitter burnt spots.
Follow these tips, and you’ll have restaurant-quality crème brûlée that’ll impress even the pickiest foodies!
Crème Brûlée Variations to Try
Once you’ve mastered the classic, get creative with these fun twists that’ll make your crème brûlée even more special:
- Citrus zest – Add orange or lemon zest to the warm cream for a bright, fresh flavor
- Chocolate – Whisk in 2 oz melted chocolate with the vanilla for a decadent twist
- Coffee – Steep 1 tbsp instant coffee in the warm cream before straining
- Lavender – Infuse the cream with 1 tsp dried culinary lavender (strain well!)
- Spiced – Add a pinch of cinnamon or cardamom for a warm, cozy flavor
The best part? That signature crack and creamy texture stay perfect no matter what flavors you add!
Serving and Storing Crème Brûlée
Here’s the scoop on enjoying your crème brûlée at its best! Always serve it chilled – that contrast between cool custard and warm caramelized sugar is everything. If you’ve already torched the tops, eat them within 2 hours or the sugar will soften. For storing, keep the un-caramelized custards covered in the fridge for up to 3 days – just add sugar and torch when ready to serve. Leftovers? Ha! Like that ever happens in my house…
Crème Brûlée Nutritional Information
Just so you know what you’re indulging in (because let’s be real – we’re not eating crème brûlée for the health benefits!): Each serving packs about 450 calories with that heavenly combo of rich cream, eggs, and sugar. These numbers are estimates – your exact counts might vary slightly depending on specific ingredients and portion sizes. But hey, some things in life are worth every delicious calorie!
Frequently Asked Questions About Crème Brûlée
I get asked about crème brûlée all the time – here are the questions that pop up most often in my kitchen!
Can I make crème brûlée without a kitchen torch?
Absolutely! While a torch gives you the most control, you can use your broiler instead. Just watch it like a hawk – sugar goes from golden to burnt in seconds under the broiler. Position your ramekins close to the heat source and rotate them for even browning.
Why did my custard turn out grainy?
Oh no! This usually happens if the eggs scrambled during mixing. Next time, temper the eggs more slowly with the warm cream, and don’t let your cream get too hot. Straining the mixture helps catch any accidental lumps too.
Can I use milk instead of heavy cream?
I wouldn’t recommend it – the high fat content in heavy cream is what gives crème brûlée its signature silkiness. Half-and-half might work in a pinch, but the texture won’t be quite as luxurious.
How do I know when the custard is done baking?
Look for that perfect “jiggle” – the edges should be set while the center wobbles like Jell-O. It’ll firm up as it chills. Overbaking leads to rubbery texture, so when in doubt, pull them out!
Can I prepare crème brûlée ahead of time?
Yes! The custards actually taste better after chilling overnight. Just wait to caramelize the sugar topping until right before serving – that satisfying crack is best enjoyed fresh.
Classic Crème Brûlée Recipe

A classic French dessert with a creamy custard base topped with a layer of hard caramelized sugar.
- Prep Time: 15 minutes
- Cook Time: 45 minutes
- Total Time: 3 hours (including chilling)
- Yield: 4 servings 1x
- Category: Dessert
- Method: Baking
- Cuisine: French
- Diet: Vegetarian
Ingredients
- 2 cups heavy cream
- 5 large egg yolks
- 1/2 cup granulated sugar
- 1 tsp alcohol-free vanilla extract
- 1/4 cup granulated sugar (for caramelizing)
Instructions
- Preheat oven to 325°F (160°C).
- Heat cream in a saucepan until simmering, then remove from heat.
- Whisk egg yolks and sugar until pale and thick.
- Slowly pour warm cream into egg mixture, whisking constantly.
- Stir in vanilla extract.
- Pour mixture into ramekins and place in a water bath.
- Bake for 40-45 minutes until set but still slightly jiggly.
- Chill for at least 2 hours.
- Sprinkle sugar on top and caramelize with a torch or broiler.
- Cool briefly before serving.
Notes
- Use room temperature eggs for smoother custard.
- Don’t overbake – custard will firm up as it cools.
- For best results, chill overnight before caramelizing.
Nutrition
- Serving Size: 1 ramekin
- Calories: 450
- Sugar: 32g
- Sodium: 35mg
- Fat: 32g
- Saturated Fat: 19g
- Unsaturated Fat: 10g
- Trans Fat: 0g
- Carbohydrates: 35g
- Fiber: 0g
- Protein: 5g
- Cholesterol: 300mg


