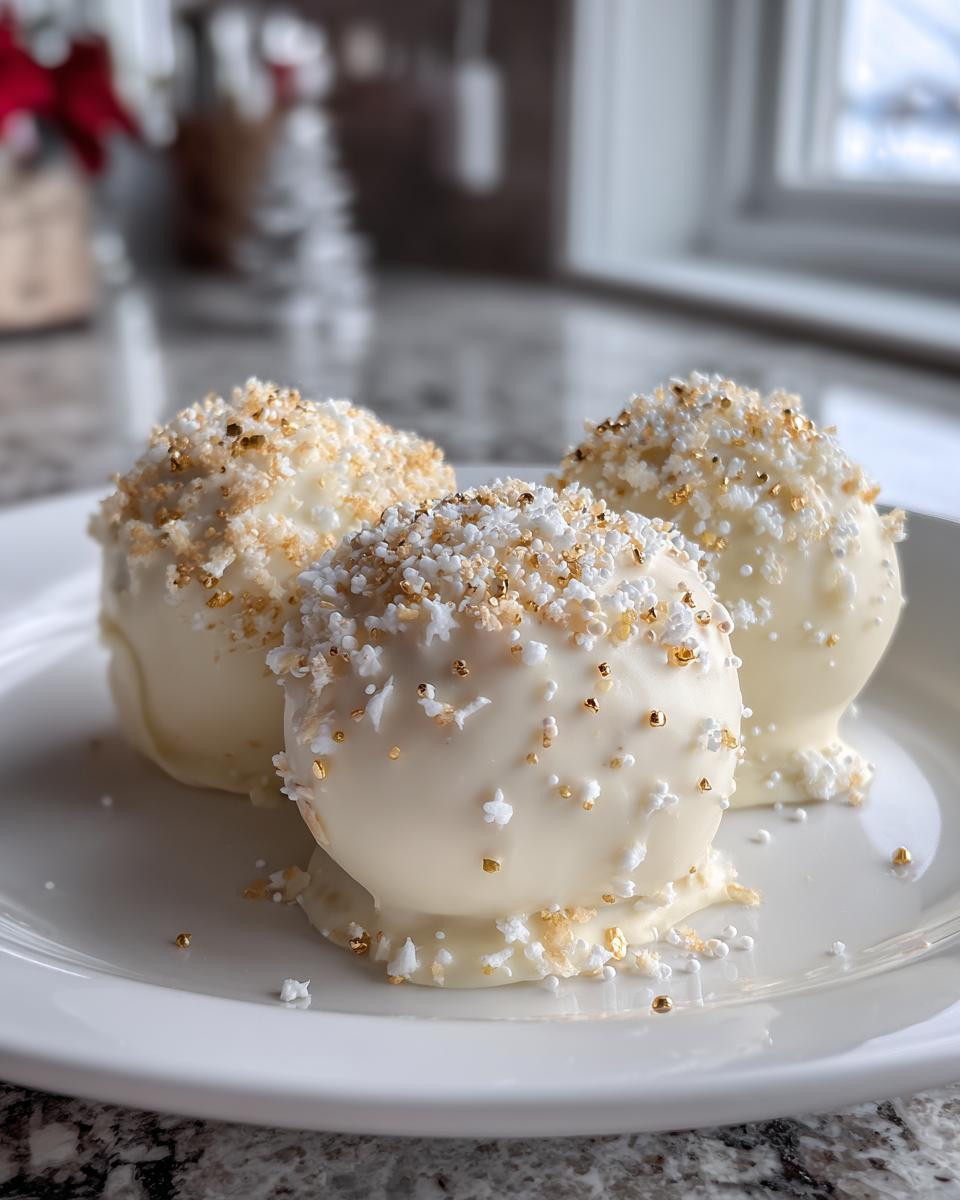
There’s something magical about snowy winter days and sweet treats that make the season feel extra special. My Winter Wonderland Cake Pops are the perfect way to bring that cozy, festive joy into your kitchen—no fancy skills required! I first made these adorable snowball treats for my niece’s holiday party last year, and now they’ve become our family’s must-have dessert. The best part? They’re ridiculously easy to whip up with simple ingredients (even store-bought cake mix works like a charm). Just imagine biting into these creamy, melt-in-your-mouth cake pops covered in sparkling white candy coating—it’s like edible holiday magic on a stick!
Why You’ll Love These Winter Wonderland Cake Pops
Trust me, once you try these little snowball bites, you’ll be hooked! Here’s why they’re a winter must-make:
- So easy – Even if baking isn’t your thing, cake mix and frosting do all the heavy lifting
- Festive magic – That snowy white coating and glittery sprinkles scream holiday cheer
- Kid-approved – My nieces go wild for these (and love helping decorate them!)
- Party perfect – They look gorgeous on dessert tables and travel well too
The best part? You get all the flavor of cake… but way more fun to eat!
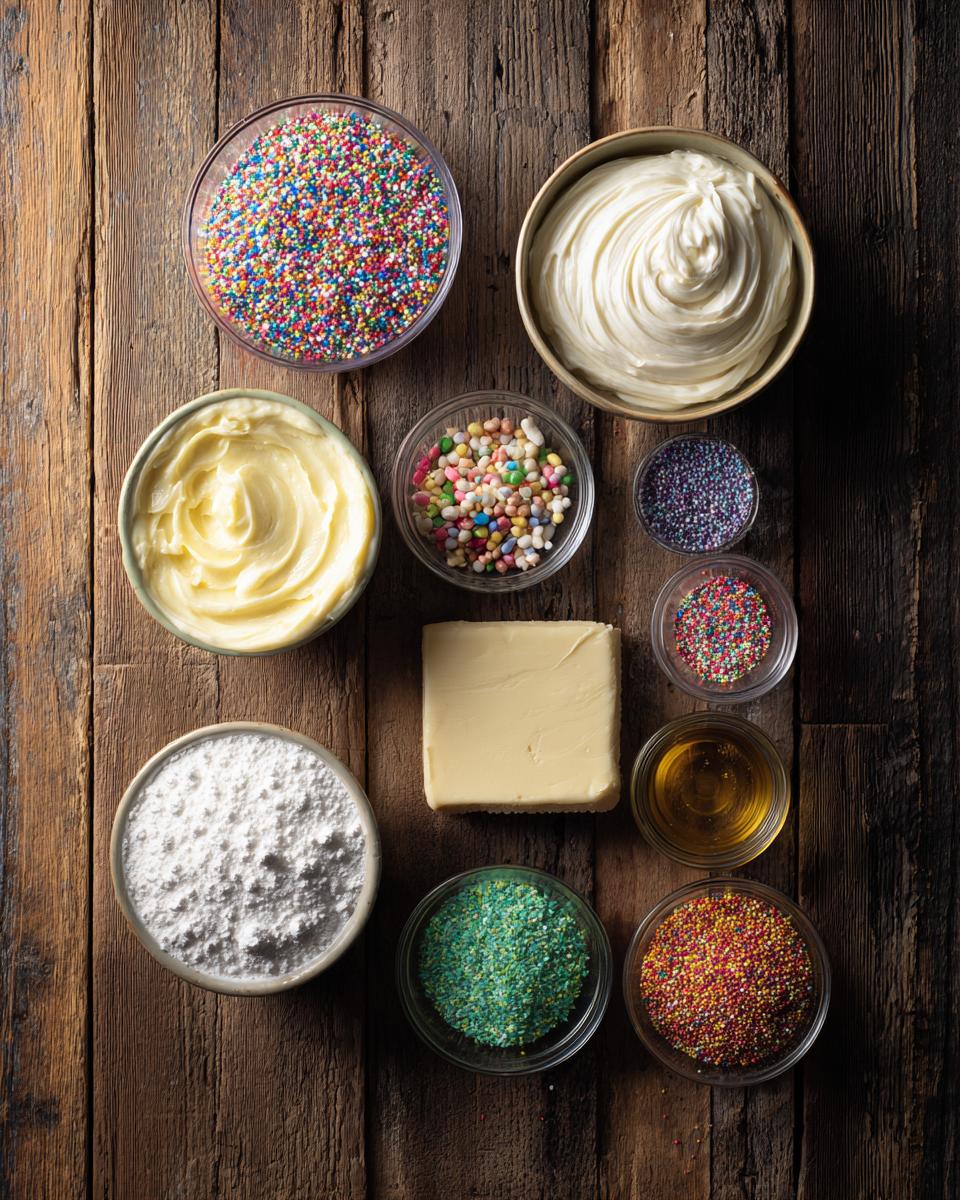
Ingredients for Winter Wonderland Cake Pops
Gathering your ingredients is the first step to snowball-shaped happiness! Here’s exactly what you’ll need to make these magical treats:
- 1 box vanilla cake mix (15.25 oz) – The shortcut queen’s best friend! I’ve used everything from classic yellow to French vanilla – they all work beautifully.
- 1 cup frosting – Store-bought vanilla saves time, but homemade buttercream makes them extra special (my secret: add a dash of almond extract!)
- 2 cups white candy melts, chopped – Chopping helps them melt evenly. In a pinch? White chocolate chips + 1 tsp shortening work too!
- 1 tbsp vegetable oil – This little trick makes the coating silky smooth.
- Sprinkles or edible glitter – The snowflake-shaped ones are my winter favorite – they sparkle like real snow!
See? Nothing fancy – just simple ingredients that transform into edible magic!
Equipment You’ll Need
You don’t need fancy gadgets to make these snowball wonders—just a few basics from your kitchen:
- Mixing bowls – One for the cake crumbs, one for the frosting mix
- Baking sheet – Perfect for freezing those cake balls
- Parchment paper – Keeps everything from sticking (trust me, it’s a lifesaver!)
- Cake pop sticks – The magic wands that turn cake into pops
- Microwave-safe bowl – For melting that snowy candy coating
That’s it! Simple tools for a seriously sweet result.
How to Make Winter Wonderland Cake Pops
Alright, let’s dive into the fun part – turning simple ingredients into snowy magic! Follow these steps and you’ll have perfect cake pops that look like they came from a bakery (but we’ll keep that our little secret).
Step 1: Bake and Crumble the Cake
First, bake your cake according to the box directions – easy peasy! Let it cool completely (about an hour – I know, the waiting is torture!). Once cooled, crumble it into fine crumbs in a large bowl. You want the texture to resemble damp sand – no big chunks! Pro tip: I sometimes throw small batches into the food processor for super-fine crumbs that roll beautifully.
Step 2: Mix with Frosting
Now for the glue that holds our snowballs together! Add frosting gradually, mixing until the crumbs stick together when pressed. It should feel like Play-Doh – sticky but not wet. Overmixing makes dense cake pops, so stop as soon as it holds its shape. My trick? Start with 3/4 cup frosting and add more by the tablespoon if needed.
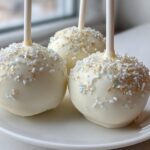
Step 3: Shape and Freeze
Roll tablespoon-sized portions into smooth balls – I aim for golf ball size. Place them on a parchment-lined baking sheet and freeze for 30 minutes. This step is CRUCIAL! The firmness prevents crumbling when we dip them later. (Learned this the hard way when my first batch fell apart!)
Step 4: Dip and Decorate
Melt candy melts with oil in 30-second bursts, stirring between each until silky smooth. Working quickly, dip each chilled ball, letting excess drip off before setting them back on parchment. Immediately add sprinkles – they’ll stick better to wet coating! Let dry completely (about 15 minutes) before serving. Watch how the snowy coating hardens into that perfect winter shine!
Tips for Perfect Winter Wonderland Cake Pops
Want your cake pops to look and taste like they came from a pro? Here are my tried-and-true tricks for snowball success:
- Chill your cake – I always refrigerate my baked cake for an hour before crumbling. It’s way less messy and gives you finer crumbs for smoother pops.
- Oil is your friend – That tablespoon of vegetable oil in the candy melts makes the coating glide on like liquid silk. No clumps, no cracks!
- Freeze before dipping – Those 30 minutes in the freezer aren’t optional—they’re your secret weapon against crumbly disasters.
- Store like a pro – Keep your pops in an airtight container at room temperature. They’ll stay fresh and sparkly for up to 5 days.
Follow these tips, and you’ll have flawless winter treats every time!
Variations for Winter Wonderland Cake Pops
Why stop at classic vanilla when you can create a whole blizzard of flavors? Here are my favorite ways to mix things up:
- Peppermint magic – Add 1/2 tsp peppermint extract to the cake mix and roll finished pops in crushed candy canes for a festive twist
- Winter colors – Use light blue or silver candy melts instead of white for an icy fantasy look
- Chocolate snow – Swap the vanilla cake for chocolate and dust with powdered sugar “snow” before serving
The best part? You can make a whole assortment to match any winter celebration!
Serving and Storing Winter Wonderland Cake Pops
These snowy treats are best served at room temperature—that way the candy coating has that perfect crisp snap when you bite in! For storage, pop them in an airtight container (I use cute holiday tins for gifting) where they’ll stay fresh for up to 5 days. Pro tip: Layer them between parchment paper so the sprinkles don’t rub off!
Nutritional Information
Each Winter Wonderland Cake Pop contains approximately 120 calories, with 10g of sugar and 5g of fat. Nutritional values are estimates and vary based on ingredients used.
Frequently Asked Questions
Can I use homemade cake instead of a mix?
Absolutely! Homemade cake works just as well—just make sure it’s moist and crumbles easily. My go-to is a simple vanilla or yellow cake recipe. The key is adjusting the frosting amount since homemade cakes can vary in moisture.
How do I prevent cracks in the coating?
Two words: vegetable oil. Adding that tablespoon to the candy melts keeps the coating smooth and crack-free. Also, make sure your cake balls are completely chilled before dipping—warm centers cause the coating to crack as it sets.
Can I make these ahead of time?
Yes! These cake pops are perfect for prepping in advance. Store them in an airtight container at room temperature for up to 5 days, or freeze them (undipped) for up to a month. Just thaw before coating!
What if I don’t have candy melts?
No worries! White chocolate chips mixed with a teaspoon of shortening work as a great substitute. Just melt them slowly and stir until smooth for that snowy finish.
Can kids help make these?
Definitely! My nieces love rolling the cake balls and adding sprinkles. It’s a fun, hands-on activity that gets everyone in the holiday spirit.
Share Your Winter Wonderland Cake Pops
I’d love to see your snowy creations! Snap a photo of your cake pops and tag me on social media—there’s nothing more fun than seeing all the winter wonderlands you’ve whipped up in your kitchens. Happy baking, friends!
PrintWinter Wonderland Cake Pops
Delicious cake pops shaped like snowballs, perfect for winter celebrations.
- Prep Time: 20 minutes
- Cook Time: 25 minutes
- Total Time: 1 hour 15 minutes
- Yield: 24 cake pops 1x
- Category: Dessert
- Method: Baking
- Cuisine: American
- Diet: Vegetarian
Ingredients
- 1 box vanilla cake mix
- 1 cup frosting
- 2 cups white candy melts
- 1 tbsp vegetable oil
- Sprinkles or edible glitter
Instructions
- Bake cake as directed and let cool.
- Crumble cake into fine crumbs.
- Mix crumbs with frosting until sticky.
- Roll mixture into small balls.
- Freeze balls for 30 minutes.
- Melt candy melts with oil.
- Dip cake balls into melted candy.
- Decorate with sprinkles.
- Let dry on parchment paper.
Notes
- Use chilled cake for easier shaping.
- Add more frosting if mixture is too dry.
- Store in airtight container.
Nutrition
- Serving Size: 1 cake pop
- Calories: 120
- Sugar: 10g
- Sodium: 85mg
- Fat: 5g
- Saturated Fat: 2g
- Unsaturated Fat: 3g
- Trans Fat: 0g
- Carbohydrates: 18g
- Fiber: 0g
- Protein: 1g
- Cholesterol: 5mg


