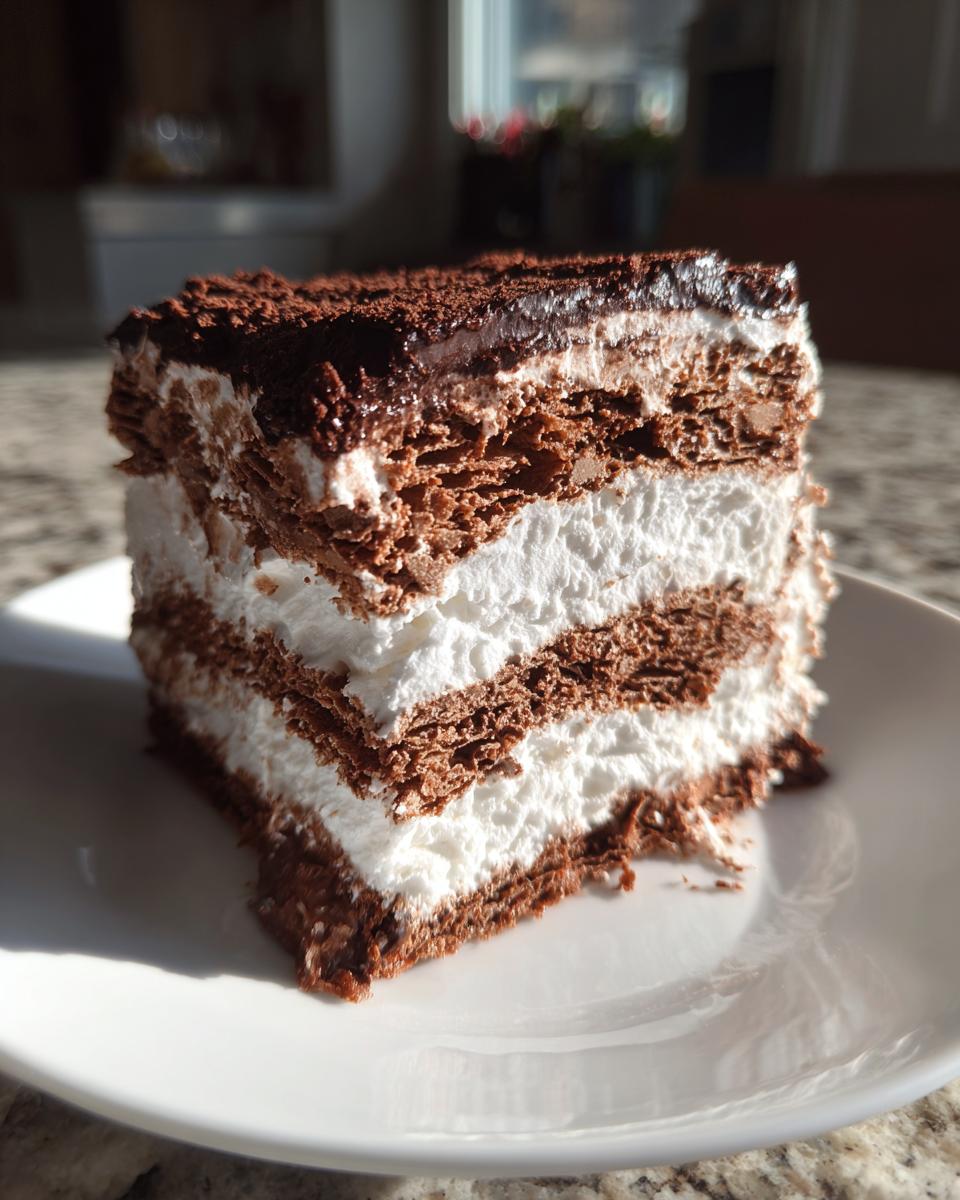
Oh my goodness, get ready to have your mind blown by the simplest, most decadent dessert you’ll ever make! We’re talking about the incredible, the magical, the utterly divine **Chocolate Icebox Cake**. Seriously, if you’ve never made one of these, you are in for such a treat. It’s pure chocolatey bliss, layered with creamy goodness, and the best part? Absolutely no baking required! I remember the first time someone told me about an icebox cake, I was skeptical. How could something so easy taste so amazing? But one bite, and I was hooked. It’s been my go-to for impromptu gatherings, last-minute potlucks, and honestly, just a Tuesday night when I need a little joy. If you know me, you know I’m all about those delicious, fuss-free desserts, and this Chocolate Icebox Cake perfectly fits the bill. Trust me, you’re going to feel like a dessert wizard with minimal effort!
Why You’ll Love This Chocolate Icebox Cake
Okay, so why *this* Chocolate Icebox Cake? Because it’s a total game-changer, that’s why! It’s got everything you want in a dessert without any of the fuss. Seriously, once you try it, you’ll be making it for every occasion. It’s rich, it’s creamy, and it looks super impressive, but our little secret is just how incredibly easy it is!
- No Baking Required: Hello, easy peasy! No oven, no worrying about soggy bottoms or burnt edges.
- Minimal Ingredients: You only need four simple things to make this magic happen.
- Decadent Flavor: Layers of chocolate and cream create a truly luxurious taste.
- Perfect for Gatherings: It feeds a crowd and always gets rave reviews.
The Allure of a No-Bake Chocolate Icebox Cake
There’s just something so wonderful about a no-bake dessert, isn’t there? This Chocolate Icebox Cake is the ultimate in convenience and simplicity. It’s perfect for summer when you don’t want to heat up the kitchen, or any time you need a stunning dessert without the stress. Seriously, any skill level can master this one!
Essential Ingredients for Your Chocolate Icebox Cake
Alright, let’s talk ingredients! One of the things I absolutely adore about this Chocolate Icebox Cake is how few ingredients it takes to make something so incredibly delicious. We’re talking four simple things that, when combined, create pure dessert magic. No fancy stuff you can’t pronounce, just good, honest ingredients. Getting these right is key to that perfect creamy, chocolatey balance we’re aiming for. Trust me, fresh and good quality ingredients really do make a difference here!
What You’ll Need for the Perfect Chocolate Icebox Cake
Gather ’round, because here’s what you’ll need for this amazing Chocolate Icebox Cake! Make sure your cream is super cold—it whips up so much better that way. And those chocolate wafers? They’re the star of the show!
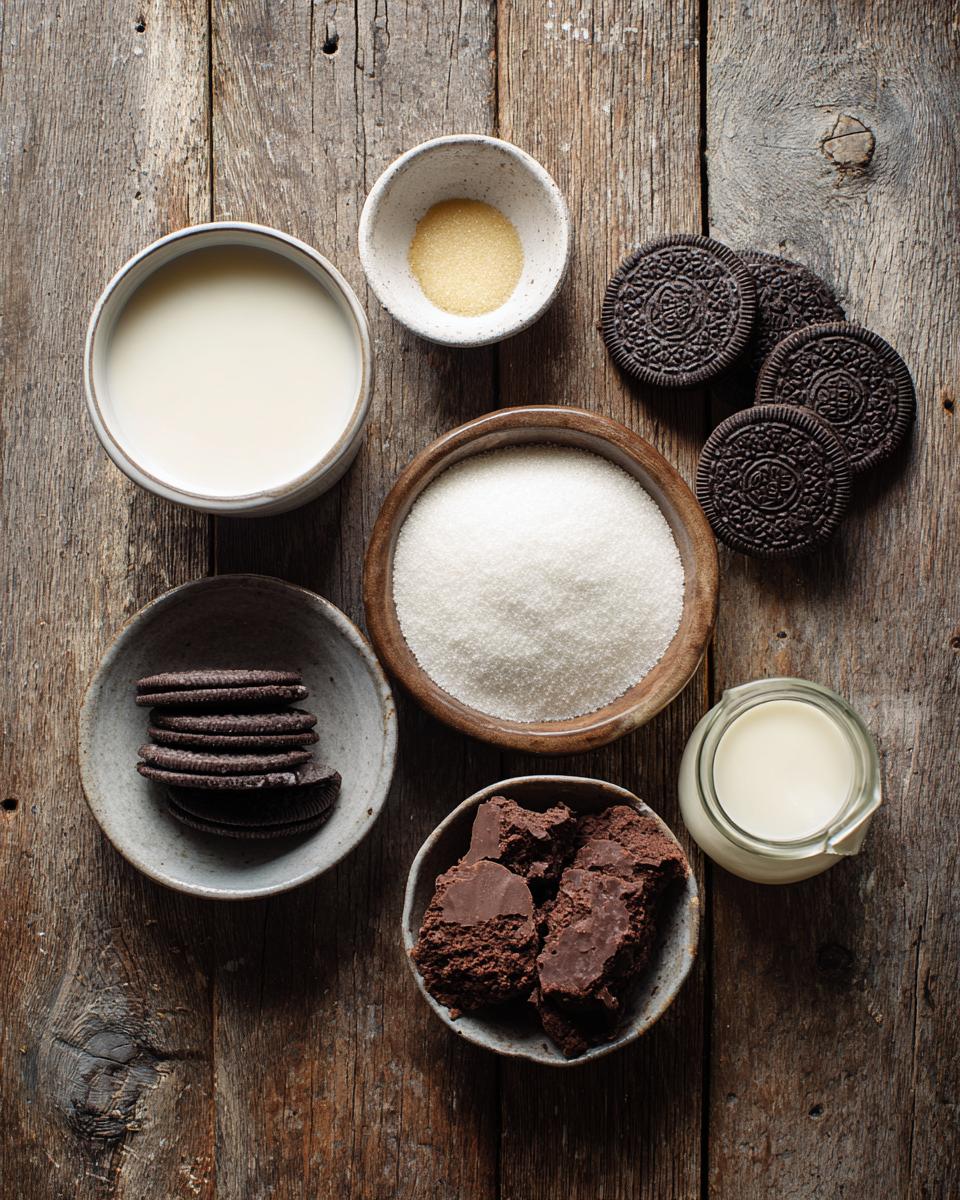
- 2 cups heavy cream, well-chilled
- 1/2 cup granulated sugar
- 1 teaspoon pure vanilla extract
- 1 (9-ounce) package chocolate wafer cookies
Step-by-Step: How to Prepare Your Chocolate Icebox Cake
Okay, now for the fun part – putting it all together! Don’t let the simplicity fool you; there’s a method to this madness that ensures every bite of your Chocolate Icebox Cake is pure heaven. I’m going to walk you through it, step-by-step, just like I do in my own kitchen. We’ll start with that glorious cream, then get to layering. The most important thing here? Patience for that chilling time. It’s tough, I know, but so worth it!
Whipping Up the Cream for Your Chocolate Icebox Cake
First things first, let’s get that cream whipped! Grab a large, clean mixing bowl and your electric mixer. Make sure your heavy cream is super cold; I even like to chill my bowl and beaters for 10-15 minutes beforehand – it really helps the cream whip up faster and firmer! Pour in the cold heavy cream, granulated sugar, and that lovely vanilla extract. Now, beat it on high speed until you see beautiful, stiff peaks form. What does that mean? When you lift the beaters, the cream should hold its shape, standing tall and proud. Don’t overmix, though, or you’ll get butter!
Assembling Your Delicious Chocolate Icebox Cake
This is where your Chocolate Icebox Cake really starts to take shape! Pick your serving dish – a loaf pan, a small casserole dish, anything with a flat bottom works great. Start by arranging a single layer of those chocolate wafer cookies on the bottom. Don’t worry if you have to break a few to fit; it’s all going to get soft and delicious anyway! Now, gently spread about one-quarter of your glorious whipped cream evenly over the wafers. Repeat this layering process: wafers, then cream, wafers, then cream. Keep going until you’ve used up all your ingredients, making sure that your very last layer is a generous spread of whipped cream. This top layer is the crown jewel, so make it pretty!
Chilling Time for the Ultimate Chocolate Icebox Cake
Alright, you’ve done the hard part (which wasn’t hard at all, right?!). Now comes the waiting game. Cover your assembled Chocolate Icebox Cake tightly with plastic wrap and pop it into the refrigerator. This chilling time is absolutely crucial, my friends! It allows those crisp chocolate wafers to soak up all that delicious moisture from the whipped cream, transforming them into a soft, cake-like texture. And it gives all those flavors a chance to really get to know each other and meld into something magical. You’ll want to chill it for at least 4 hours, but honestly, if you can wait, overnight is truly best. Trust me, it’s worth every minute of anticipation!
Tips for a Flawless Chocolate Icebox Cake
You’re almost a Chocolate Icebox Cake pro now! But I’ve got a few extra little secrets up my sleeve to make sure your cake isn’t just good, but absolutely *flawless*. These are the things I’ve learned over countless batches, little tweaks that take it from great to “OMG, you HAVE to make this again!” Don’t be afraid to play around a bit; that’s the fun of cooking, right?
Customizing Your Chocolate Icebox Cake
Want to amp up that chocolate factor even more? Try adding a tablespoon or two of unsweetened cocoa powder to your heavy cream mixture before whipping – it gives a gorgeous, deeper chocolate flavor. Or, for a fun twist, swap out some of the vanilla extract for a different flavor. A hint of almond extract, or even a touch of peppermint extract around the holidays, can totally transform your Chocolate Icebox Cake!
Common Questions About Chocolate Icebox Cake
Okay, so you’ve got your Chocolate Icebox Cake chilling (or maybe you’ve already devoured a slice!). It’s totally normal to have a few questions, especially if this is your first time making one. I’ve heard them all, so let’s get some of those common queries answered. Knowing these little tidbits will help you make the absolute best Chocolate Icebox Cake every single time, and even help you enjoy those delicious leftovers!
Can I Make This Chocolate Icebox Cake Ahead of Time?
Oh, absolutely! In fact, making your Chocolate Icebox Cake ahead of time is highly recommended. It needs at least 4 hours to chill, but honestly, making it the day before is ideal. This gives the wafers plenty of time to soften beautifully and all those creamy, chocolatey flavors to truly meld together. It’s a fantastic dessert for entertaining because you can get it all done and out of the way!
How to Store Leftover Chocolate Icebox Cake
Got leftovers? Lucky you! The best way to store your leftover Chocolate Icebox Cake is to keep it tightly covered with plastic wrap in the refrigerator. This helps prevent it from drying out or absorbing any weird fridge smells. It’ll stay delicious for up to 2-3 days, though I’d be impressed if it lasts that long in your house!
Estimated Nutritional Information for Chocolate Icebox Cake
I know some of you like to keep an eye on the numbers, so here’s a general idea of what you’re looking at per serving for this Chocolate Icebox Cake. Just a little heads-up though: these are *estimates*! The actual nutritional values can totally swing depending on the specific brands of cream, sugar, and wafers you use. So, think of this as a helpful guide, not a strict rulebook!
Share Your Chocolate Icebox Cake Creation
And there you have it, your very own delicious Chocolate Icebox Cake! I’d absolutely LOVE to see your creations. Seriously, it makes my day when you share what you’ve made from my recipes. So, after you’ve whipped up this fantastic dessert, snap a pic! Leave a comment below and tell me how it went – did you add any fun twists? Don’t forget to rate the recipe too! And if you’re on social media, tag me so I can ooh and aah over your amazing work. Happy eating!
PrintChocolate Icebox Cake

This chocolate icebox cake is a simple yet decadent dessert. Layers of chocolate wafers and whipped cream create a rich, no-bake treat.
- Prep Time: 20 minutes
- Cook Time: 0 minutes
- Total Time: 4 hours 20 minutes
- Yield: 8 servings 1x
- Category: Dessert
- Method: No-Bake
- Cuisine: American
- Diet: Vegetarian
Ingredients
- 2 cups heavy cream
- 1/2 cup granulated sugar
- 1 teaspoon vanilla extract
- 1 (9-ounce) package chocolate wafer cookies
Instructions
- In a large bowl, combine the heavy cream, sugar, and vanilla extract. Beat with an electric mixer on high speed until stiff peaks form.
- Arrange a single layer of chocolate wafers on the bottom of a serving dish.
- Spread about one-quarter of the whipped cream evenly over the wafers.
- Repeat layers of wafers and whipped cream until all ingredients are used, ending with a layer of whipped cream.
- Cover the dish and refrigerate for at least 4 hours, or preferably overnight, to allow the wafers to soften and the flavors to meld.
- Slice and serve chilled.
Notes
- For extra flavor, you can add a tablespoon of cocoa powder to the whipped cream.
- Garnish with chocolate shavings or fresh berries before serving.
- This cake can be made up to 2 days in advance.
Nutrition
- Serving Size: 1 slice
- Calories: 350
- Sugar: 25g
- Sodium: 150mg
- Fat: 25g
- Saturated Fat: 15g
- Unsaturated Fat: 8g
- Trans Fat: 0g
- Carbohydrates: 30g
- Fiber: 1g
- Protein: 3g
- Cholesterol: 60mg


