The first time I truly fell in love with Greek pita was at this tiny family-run Mediterranean spot near my apartment. The owner, Yianni, would hand-make them fresh every morning—warm, pillowy, and just begging to be stuffed with juicy grilled lamb or slathered in creamy tzatziki. I’d watch him flip them on the griddle, puffing up like little clouds, and thought, “I need to learn this magic at home.” Turns out? It’s shockingly simple! With just flour, yeast, and a skillet, you can recreate that authentic Greek pita texture—chewy yet tender, perfect for wrapping, dipping, or tearing straight off the stack. No fancy tools needed, just your hands and a little patience while the dough rises. Trust me, once you taste homemade, those store-bought versions just won’t cut it anymore.
Why You’ll Love This Greek Pita Recipe
This Greek pita recipe is a game-changer for so many reasons:
- Foolproof & fast: Just 5 basic ingredients and about an hour from start to finish (most of that’s hands-off rising time!)
- Crazy versatile: Stuff them with gyro fillings, use as dippers for hummus, or make mini pizza bases—they handle everything
- Restaurant-quality at home: That signature puff and slight char? You’ll nail it on your first try
- Freezer-friendly: Make a double batch and stash extras for last-minute meals
Seriously—once you see how easy it is to make soft, warm Greek pita from scratch, you’ll never go back to the dry supermarket kind.
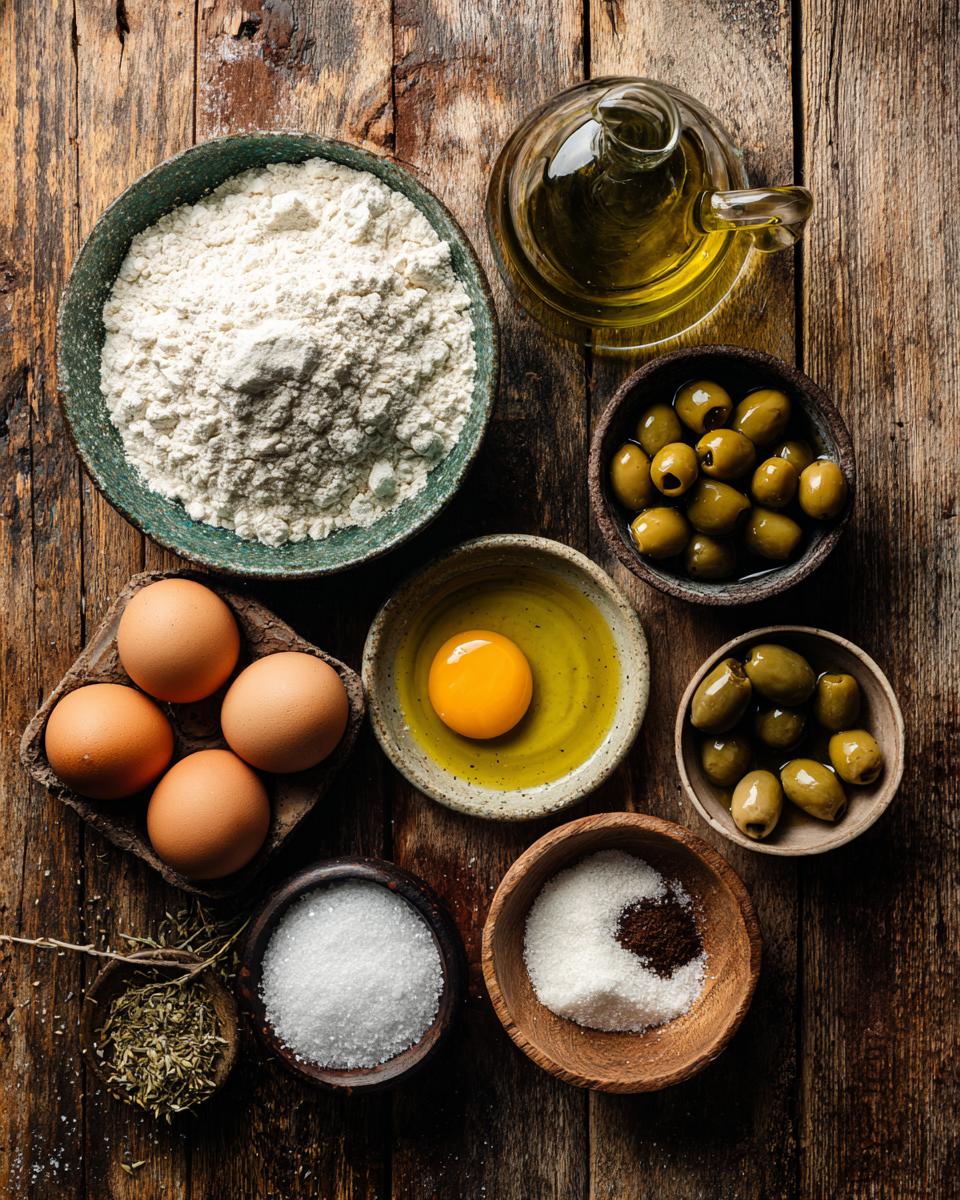
Ingredients for Greek Pita
Gather these simple ingredients—I promise your pantry probably has most of them already! Precision matters here, so measure carefully:
- 2 cups all-purpose flour (not self-rising—that’ll throw off the texture)
- 1 teaspoon salt (I use fine sea salt for even distribution)
- 1 teaspoon sugar (just enough to wake up the yeast)
- 1 tablespoon olive oil (extra virgin for flavor, but any works)
- 3/4 cup warm water (110°F—like bathwater, not too hot or you’ll kill the yeast)
- 1 teaspoon active dry yeast (not instant yeast—they behave differently!)
That’s it! No fancy additives—just real ingredients for that authentic Greek pita taste and chew.
How to Make Greek Pita
Making Greek pita at home is easier than you think—just follow these steps and you’ll have warm, fluffy pitas ready to go in no time. The key? Patience during the rising process and a hot skillet for that perfect puff!
Preparing the Dough
Start by proofing the yeast. In a small bowl, mix the warm water (110°F—test it on your wrist to make sure it’s not too hot), sugar, and active dry yeast. Let it sit for 5 minutes until it gets foamy—this means your yeast is alive and ready to work. Meanwhile, in a large mixing bowl, combine the flour and salt. Add the yeast mixture and olive oil, then mix until it comes together into a shaggy dough. Turn it out onto a lightly floured surface and knead for about 8-10 minutes until it’s smooth and elastic. You’ll know it’s ready when it springs back slightly when poked. Place the dough in a lightly oiled bowl, cover with a clean kitchen towel, and let it rise in a warm spot for 1 hour—it should double in size.
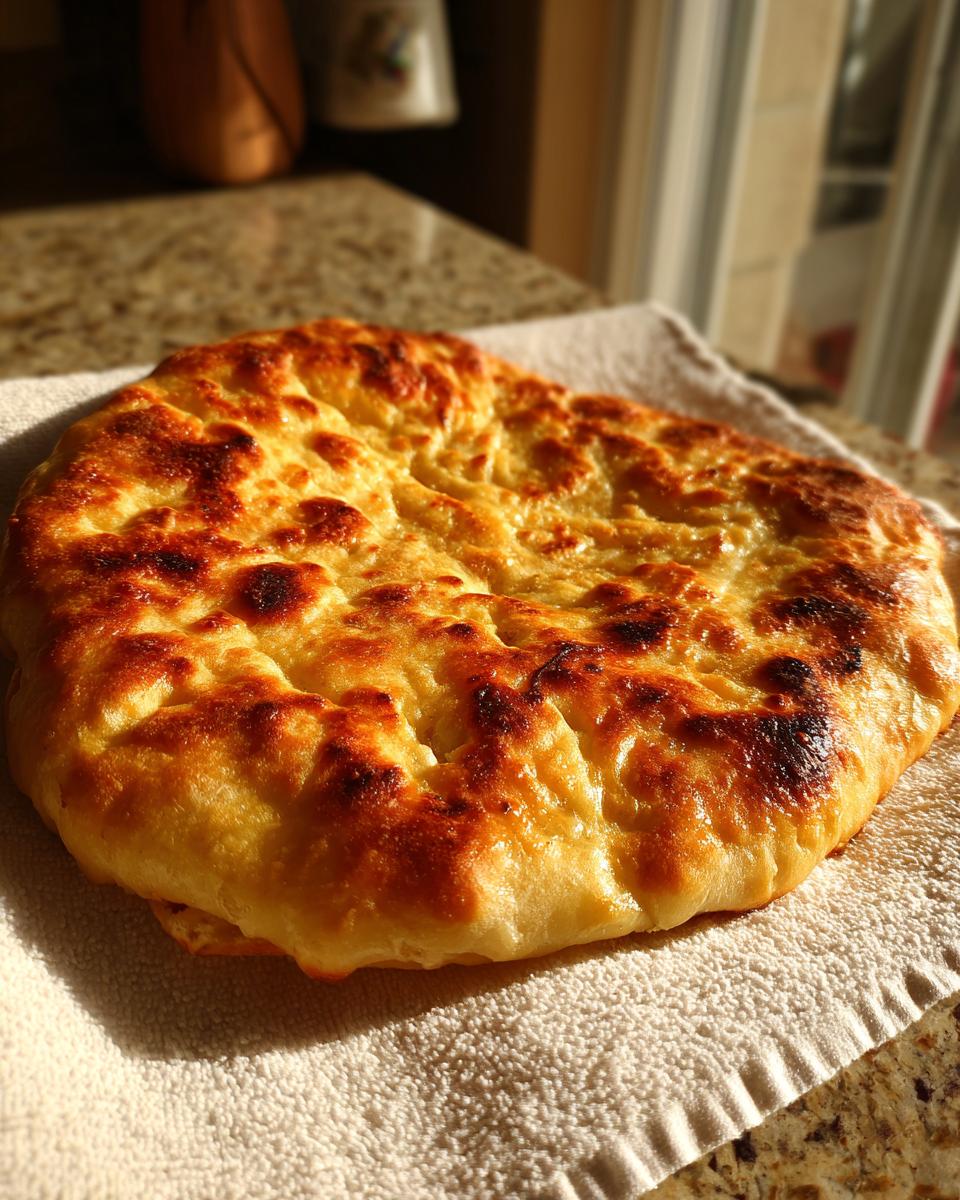
Cooking the Greek Pita
Once the dough has risen, punch it down and divide it into 4 equal pieces. Roll each piece into a circle about ¼-inch thick—don’t worry if they’re not perfectly round; rustic is charming! Heat a heavy skillet (cast iron works great) over medium-high heat. You want it hot but not smoking. Cook each pita for about 2 minutes on the first side—you’ll see bubbles start to form—then flip and cook for another 1-2 minutes until it puffs up and has light golden spots. Keep them warm under a towel while you cook the rest. That puff? That’s your success indicator—take a bow, you’ve just made perfect Greek pita!
Tips for Perfect Greek Pita
Here are my go-to tips for nailing Greek pita every time:
- Cover the dough: Always use a clean kitchen towel while it rises—it keeps the dough moist and happy.
- Don’t over-flour: Too much flour makes the dough tough. Use just enough to prevent sticking.
- Hot skillet: Your skillet should be hot enough to make the pita puff but not burn it.
- Keep them warm: Wrap cooked pitas in a towel to stay soft and pliable.
Serving Suggestions for Greek Pita
Oh, the possibilities with fresh Greek pita! My absolute favorite way? Warm from the skillet, torn into pieces, and dragged through a bowl of garlicky hummus—pure heaven. But don’t stop there! Stuff them with juicy grilled chicken or lamb, crisp veggies, and a generous drizzle of tzatziki for the ultimate gyro experience. They’re also perfect for scooping up baba ganoush, wrapping falafel, or even as a base for next-level breakfast sandwiches. Pro tip: Always serve Greek pita warm—just a quick 10-second flip in a dry skillet brings back that fresh-off-the-griddle magic.
Storing and Reheating Greek Pita
Fresh Greek pita is best, but if you’ve got leftovers (lucky you!), here’s how to keep them perfect. Store cooled pitas in an airtight bag or container at room temp—they’ll stay soft for 3 days. To reheat, skip the microwave (it makes them rubbery) and toss them in a dry skillet for 30 seconds per side. The heat brings back that fresh-baked texture like magic. If you made extra, freeze them between parchment paper—just toast straight from frozen when cravings hit!
Greek Pita Variations
Want to mix things up? Try these easy twists on classic Greek pita:
- Whole wheat: Swap half the all-purpose flour for whole wheat—adds nutty flavor and extra fiber (you might need a splash more water)
- Herb lover’s: Knead in 1 tbsp dried oregano or thyme for aromatic pitas perfect with dips
- Garlic butter: Brush cooked pitas with melted butter mixed with minced garlic—dangerously good with souvlaki
No matter which version you choose, that signature puff and chew stays gloriously intact!
Greek Pita FAQs
Got questions? I’ve got answers—these are the Greek pita mysteries I’ve solved through trial and (many) tasty errors:
“Can I freeze the dough?” Absolutely! After the first rise, divide the dough into portions, wrap tightly in plastic, and freeze for up to 3 months. Thaw overnight in the fridge, then let it come to room temperature before rolling and cooking. Works like a charm for impromptu pita cravings.
“Why didn’t my pita puff?” Nine times out of ten? Your skillet wasn’t hot enough. That magical pocket forms when steam gets trapped between two quickly-cooked surfaces. Next time, let your pan preheat for a full 5 minutes—you should see a slight wisp of smoke when it’s ready.
“Any yeast substitutes?” For traditional Greek pita? Not really—yeast gives that signature chew. But in a pinch, mix 1 tsp baking powder with 1/4 tsp baking soda into the dry ingredients for a quick flatbread. It won’t puff the same way, but it’ll still taste delicious slathered with hummus!
Nutritional Information
Nutritional values are estimates only—actual numbers vary based on ingredient brands and specific measurements used. Always check labels for your exact ingredients!
Share Your Greek Pita
I’d love to see your pita masterpieces! Snap a pic of your golden, puffy creations and tag me—nothing makes me happier than seeing you guys nail this recipe. Drop a comment below with your favorite way to stuff them too!
PrintGreek Pita Bread Recipe

Enjoy a classic Greek pita, a versatile and flavorful dish perfect for any meal.
- Prep Time: 15 minutes
- Cook Time: 10 minutes
- Total Time: 1 hour 25 minutes
- Yield: 4 pitas 1x
- Category: Bread
- Method: Stovetop
- Cuisine: Greek
- Diet: Vegetarian
Ingredients
- 2 cups all-purpose flour
- 1 teaspoon salt
- 1 teaspoon sugar
- 1 tablespoon olive oil
- 3/4 cup warm water
- 1 teaspoon active dry yeast
Instructions
- Mix yeast, sugar, and warm water in a bowl. Let it sit for 5 minutes.
- Add flour, salt, and olive oil to the yeast mixture. Knead until smooth.
- Cover the dough and let it rise for 1 hour.
- Divide the dough into 4 equal parts. Roll each into a circle.
- Cook each pita on a hot skillet for 2 minutes on each side.
Notes
- Let the dough rise in a warm place for best results.
- Store cooked pitas in a sealed container to keep them soft.
Nutrition
- Serving Size: 1 pita
- Calories: 165
- Sugar: 1g
- Sodium: 295mg
- Fat: 2g
- Saturated Fat: 0g
- Unsaturated Fat: 1.5g
- Trans Fat: 0g
- Carbohydrates: 32g
- Fiber: 1g
- Protein: 4g
- Cholesterol: 0mg


